
It’s been a while since I’ve posted anything about our wedding, and I promised here to share details on the DIY projects that made the day happen. So, in order to not break promises, today I thought I’d spill the beans on the big focal point of our reception – the streamer backdrop.
I was actually inspired to do this pretty late in the game, with only a few months left ’til the wedding. But, this project seemed so simple and inexpensive that I simply couldn’t resist. First, I’ve got to share my inspiration.

Rachel’s (of Heart of Light) inspirational backdrop. Click on the photo to be taken to the blog article at 100 Layer Cake featuring her amazing instructions.
How beautiful is that?! When I stumbled upon this photo, I was smitten and knew such a simple decoration would fit right in with our backyard reception, while adding some drama. Rachel created this backdrop herself and provided very helpful instructions. Please visit the source article to view those instructions.
Rachel also directs folks to Oh Happy Day, where she learned to make fringey streamers. This tutorial was also so helpful. I also found that I LOVED this blog and fell in love with a number of additional articles featured there. I highly recommend stopping by.
So, with both tutorials at my fingertips, I got to work. I purchased my crepe paper from crepepaperstore.com per Rachel’s suggestion. The online store had great prices. My husband (or fiance at the time) was tasked with buying wooden dowels from the hardware store. We bought four, 5′ dowels for a total of twenty feet of backdrop. I also bought silver foil curtains from Amazon (it was the same price on Amazon as at Oriental Trading where Rachel made the purchase, but I got free shipping on Amazon). And I already had hot glue gun supplies.
After my supplies were gathered, I arranged my crepe paper and prepped all of my streamers. Then I arranged them by color to make it easier for me to see which colors I wanted to use while I was applying them to the dowels.

My crepe paper ready for dowel attachment.
I filled one dowel at a time. I completed the first dowel at my home, attached the foil curtain to the back, wrapped it in a sheet and transported it to my sister’s house (the reception site) – all per Rachel’s instructions. When I got to my sister’s, and we unrolled the streamers, we found that the foil backdrop had gotten extremely tangled and it took us quite a while to sort everything out. I was so concerned because everything felt so delicate and I still had three more dowels to complete. Then, my sister had a bright idea – why don’t I put everything together at her house. Then we wouldn’t have to worry about transporting anything. My sister – so smart!!
I spent the next couple of weekends at her house building the backdrop. I think my favorite part about this project was getting the extra time with my four-year old nephew and ring bearer, Ricky. He was very interested in what I was doing. He was caught up in the excitement of the big event taking place at his house. He assured me that he was going to have a wedding of his own and he was also rather interested in getting one of the streamer dowels installed in his bedroom. But, of all of our conversations, I think my favorite went something like this:
Ricky: Auntie, you’re getting married. Me: Yes, I know. Are you excited for the wedding? Ricky: Yes. And I’m going to look handsome and you’re going to be beautiful… Mommy said so.I think my heart about burst out of my chest at that.
But, back to the streamer project. We finished everything on time. When deciding where to hang the dowels we discovered that the foil curtain continued to get tangled up whenever the slightest breeze blew, so I decided not to add anymore of it to the remaining three dowels. My brother-in-law and his dad hung up the streamers the morning of the wedding and it was and is the hit of the party.
This backdrop helped create some of my favorite photos caught by our photographer. It served as the backdrop for toasts and the dance floor and over all was the least expensive way to add drama, style, to our wedding celebration.
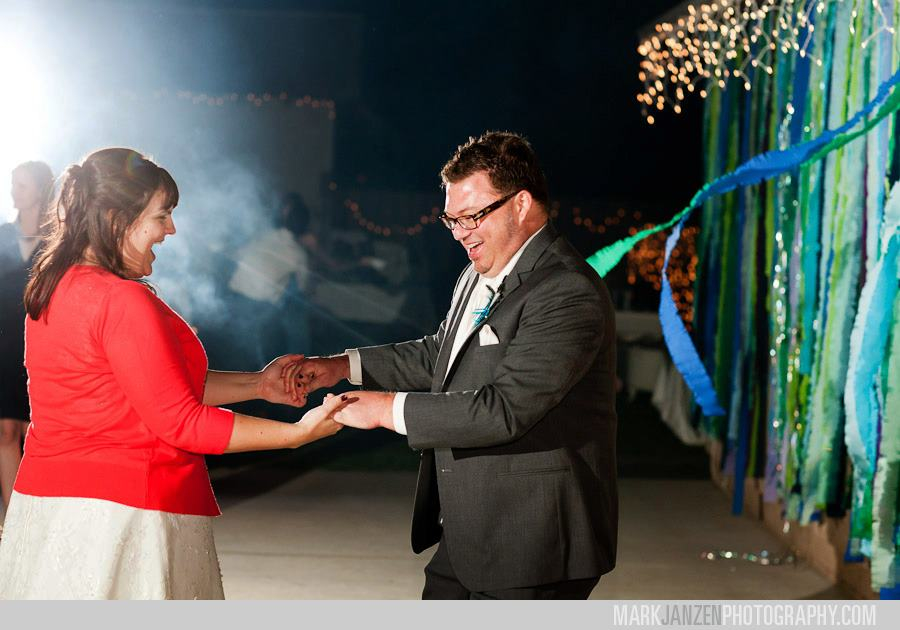
My favorite photo captured by our photographer. My husband and I dancing up a storm with the streamer backdrop catching a breeze behind us.

My beautiful sisters, and matrons of honor, making a toast in front of the streamer project.
What do you think? Do you have any similar backdrops that you’ve created for parties or weddings?


