For my inaugural Wedding Wednesday post I’ve decided to write about a topic on which I consider myself to be a bit of an expert. This month, I’ll serve as an attendant to my tenth bride. That’s right folks, 10 – I’ve hit the double digits. While some gals might lament this fact and complain about the money spent or collection of questionable gowns, I count myself lucky to have so many friends who consider me special enough to include in their wedding day.
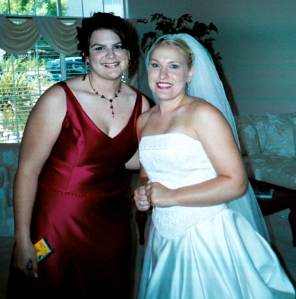
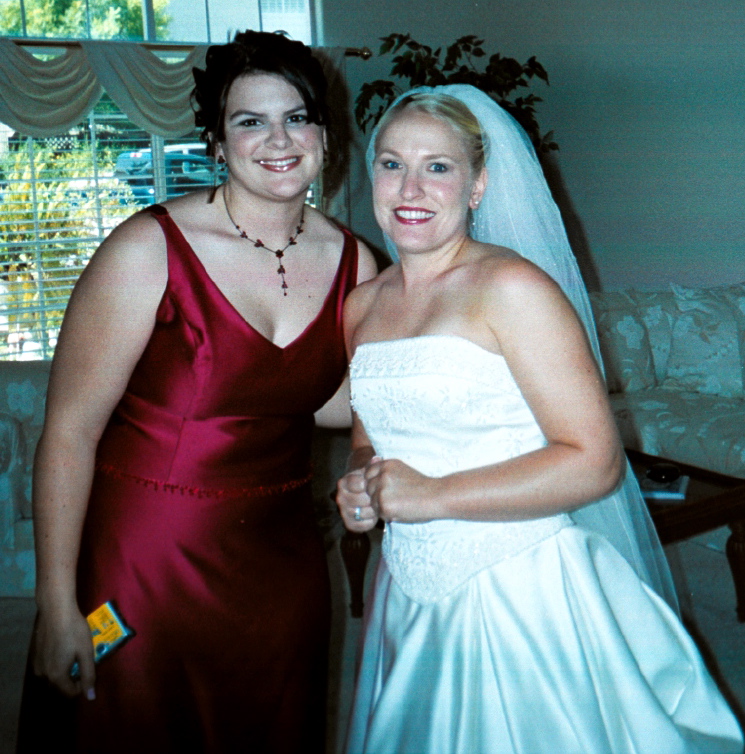
One of the early weddings, though not the first, was for my dear friend, Angela. Note the disposable camera in my hand. Many of the pictures from those early days are “analog” and not available for posting.
I was in my first wedding at age 21 in 2001 and my 11th wedding (including my own) will be this month at the tail end of my 33rd year (2013). Over the span of these dozen years, I’ve experienced and seen it all. I’ve been maid of honor (3x); travelled for weddings (4x); thrown countless bridal showers and bachelorette parties (many of which took place in that bachelorette haven of Las Vegas); worn ball gowns, long dresses, short dresses, tea-length, strapless, halter tops, spaghetti straps, and v-necks; had my hair done, did my own hair, and re-did what someone else did to my hair; basically you name it, I’ve worn it or seen it or heard it. For years, friends used to joke that I should write my own Bridesmaid’s Survival Guide.
Well today, in honor of all those beautiful brides I’ve served and in preparation of my 10th attendant duty, I’m making my first attempt at sharing my advice for wedding attendants. I’ve got a wealth of knowledge that could extend into a lengthy post, so in order to keep things relatively brief, I’m sharing my thoughts with a bit of a theme.
The wedding day can be an emotional one – for everyone involved. When watching your BFF/sister/cousin/female soulmate marry, all sorts of things can come to the surface. Here are my thoughts on how to navigate an emotionally charged weekend and make it the best!
“But, I Thought We We’re BFF’s!” – Managing Multiple Relationships
The childhood playmate, favorite cousin, college roommate, new in-laws, etc. – ladies (and gents) representing an important period in the Bride’s life typically make-up the bridal party. It’s not uncommon for members of each of these groups to be oblivious to the existence of the other or worse, oblivious to the value of the other’s role in the Bride’s life. On more than one occasion, I was the “johnny-come-lately” amongst a group of childhood friends who held a set of shared beliefs and inside jokes that I simply didn’t get. I could either (a) sit in the corner and pout about being “left out” or (b) dive-in and enjoy learning more about the friend whom I loved so dearly.
The important thing to remember is that the bride picked you for a reason. Have confidence and faith in your friendship and it will free you up to enjoy the company of others.
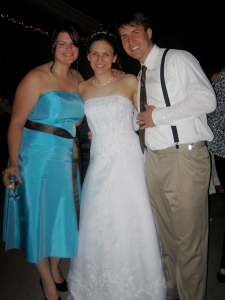
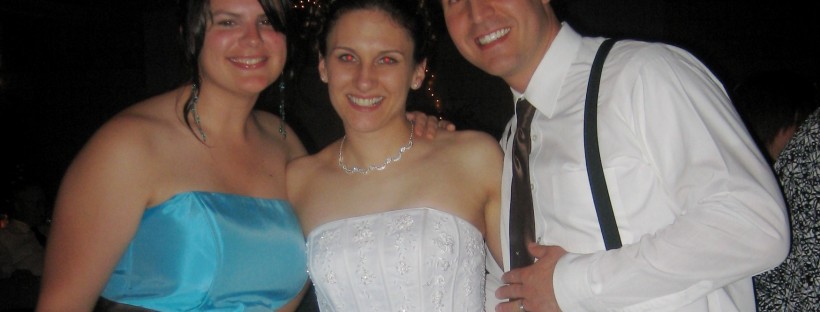
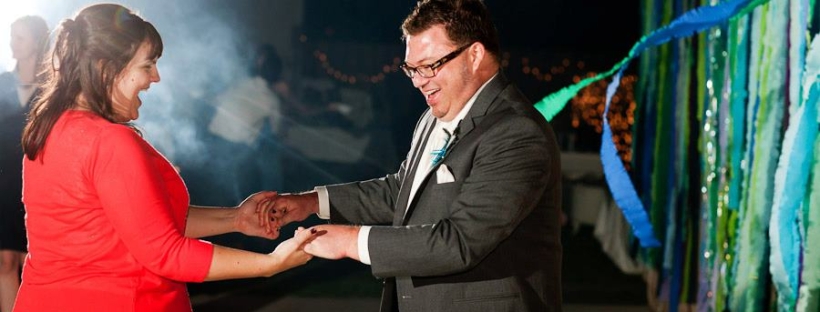
I introduced this bride (Sandi) and groom (Matt) to one another. I was so honored to be included in their special day.
“I Flew All the Way Out Here and I’ve Barely had a Conversation with the Bride.”
Have you looked at a wedding schedule lately? From the start of events at the rehearsal to the time the bride and groom depart the reception, there is always something happening. Pictures are being taken, hair is being done, toasts are being made, dances are being danced, guests are being greeted – and somewhere in all of that the happy couple is getting married and trying to sneak in some alone time.
I have to confess that some of my most cherished memories as a bridesmaid/maid of honor are those just before the ceremony began and I gave the bride a big hug before walking down the aisle. It was a special moment between my friend (or in a couple of cases my sisters) and me. In a weekend of go-go-go, I had one second to slow down and express my love and support.
Instead of wallowing in the lack of interaction with the busy bride and groom, let the excitement of the weekend (and the myriad of activities) sweep you away. As a member of the behind-the-scenes crew, there will be a chance for a special moment. When it comes, take advantage of it and cherish it. Then, hold the bride and groom to plans to connect in the future when things are less busy and they aren’t out of their minds with stress/plans/wedding afterglow.
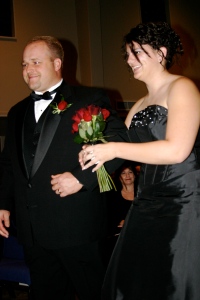
Here I am walking with the Best Man at my sister’s wedding. I was so happy with my hair – that might be why I’ve got such a big, cheesy smile!
Remember My Golden Rule for Wedding Attendants: It’s Not About You
If you make this your mantra, no matter what you encounter, things will go smoothly. So, you may not like putting your hair in an up-do per the bride’s request. But, if it’s her preference, go for it. It’s one day and such a simple request to fulfill. Over the years, I spent so much wasted time worried about how I looked in my bridesmaid dress. The truth is, the majority of wedding guests probably didn’t give me a second look – they are at the wedding for the bride and groom.
*An extra note here, if you do decide to suck-it-up and deal with something you don’t like for the sake of the bride (i.e. a dress you don’t like) don’t spend the whole wedding complaining about it to the rest of the bridal party. Those girls/guys are there for the bride, too, and they don’t want to spend every spare moment listening to you whine about how “salmon is not your color” or you “detest open-toed shoes.” Let the little things go and enjoy yourself!
Ultimately, I hope you’ll relax and have fun. That’s my plan for the upcoming nuptials of my good friend. I’m so happy for her and I know that by being there to support her and help her in any way I can, I’ll make her day that much better (it’s already going to be great simply because she’s marrying the man of her dreams).
So, what are your thoughts? What is your advice for managing the emotions of the special day of your friend?
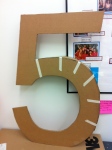
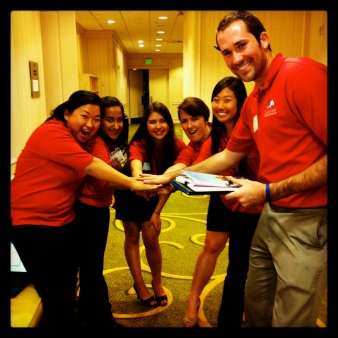
 I recently celebrated my fifth anniversary at my workplace. This was quite a feat, as I’ve never worked anywhere that long – I also never planned to stay at my job past five years. And here I am, loving my work so much, I can’t imagine leaving. To learn more about this work, check out this new page.
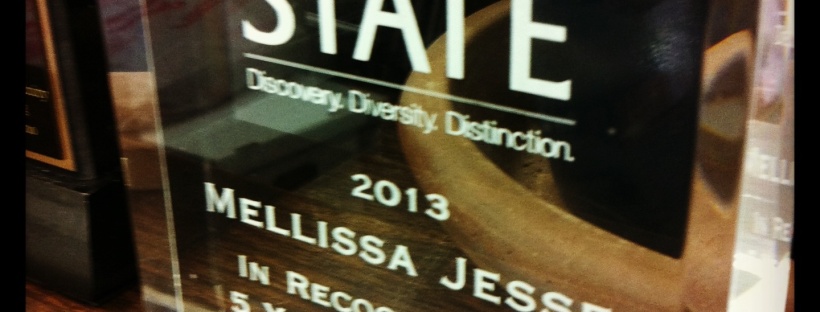
 My boss asked me to prepare something that he could use at a meeting to share some valuable statistics. I’m proud to share this data with you on the little infographic (to the left) I designed for him. What do you think of my first try?


